Présentation
L'éditeur en ligne vous permet de modifier votre contenu. C'est au travers de ce formulaire que vous pourrez renseigner et éditer chacun des divers champs d'un contenu.
Cet outil est accessible au sein de l'onglet contextuel Contenu (automatiquement visible lorsqu'un contenu est sélectionné) à l'aide du bouton Modifier le contenu :
(Revoir au besoin la page Mettre a jour le contenu d'une page pour savoir comment trouver et sélectionner un contenu d'une page)

Interface
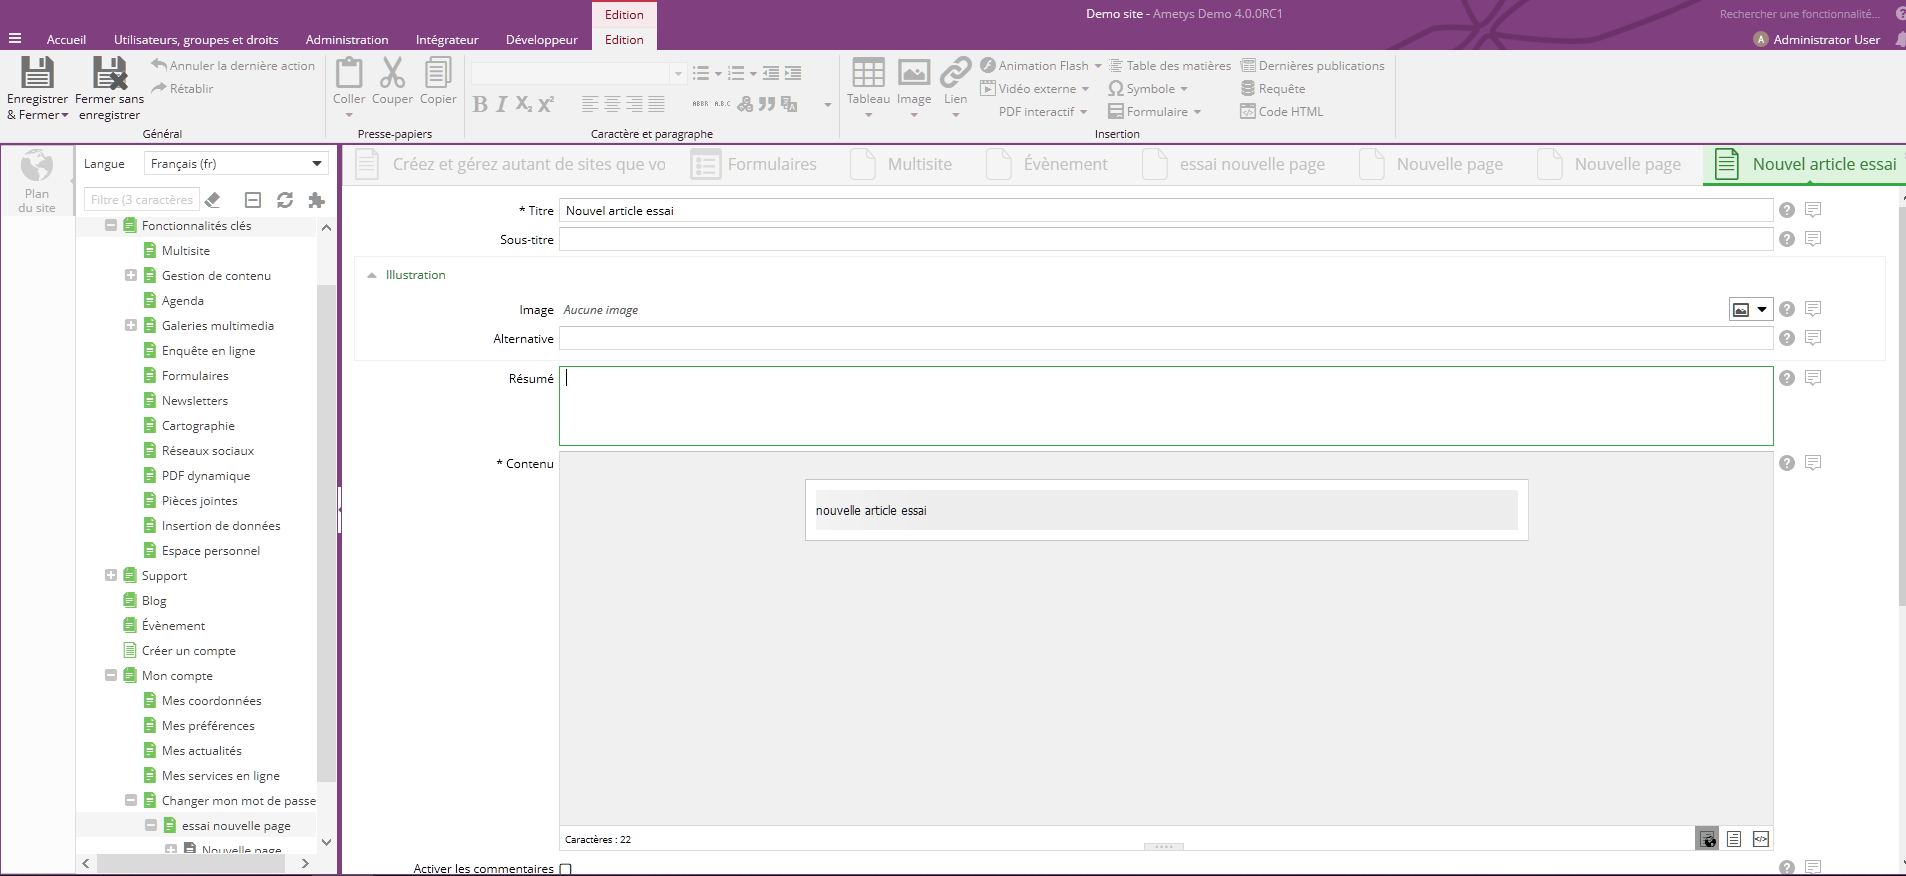
Après avoir ouvert l'éditeur en ligne, votre ruban se met à jour en vous proposant de nouveaux boutons.
La zone centrale affiche un formulaire reprenant l'ensemble des champs de votre contenu :
Fonctionnalités
| Boutons | Nom | Description |
| Enregistrer & Fermer | Sauvegarde les changements apportés à votre contenu et ferme le mode édition | |
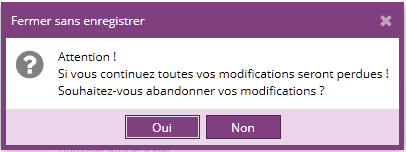
| Fermer sans enregistrer | Ferme le mode édition sans enregistrer les modifications apportées depuis la dernière sauvegarde. Une fenêtre contextuelle vous demandera de confirmer voir choix (voir illustration ci-dessous) |
Fenêtre contextuelle de confirmation après avoir choisi l'action Fermer sans enregistrer :
Vous pouvez aussi faire des sauvegardes sans fermer l'éditeur, au fur et à mesure de la modification de votre contenu. Pour cela il faut cliquer sur la flèche dans la partie basse du bouton Enregistrer & Fermer puis choisir l'action Enregistrer.
Le ruban propose de nombreux autres boutons d'action (voir l'illustration ci-dessus). Ceux-ci sont spécifiques à l'édition de champs riches et sont détaillés dans la section éponyme. Ces boutons sont donc grisés dans la plupart des cas (c'est-à-dire, lorsque la sélection active n'est pas un champ de type Texte Riche).
Formulaire d’édition
Le formulaire d'édition reprend l'ensemble des champs éditables de votre contenu. Ces champs peuvent être de différents types impliquant des différences visuelles et fonctionnelles.
Un champ d'un contenu peut être obligatoire ou facultatif. Les champs obligatoires sont indiqués à l'aide d'une étoile (*) située à gauche du libellé du champ. Il n'est pas possible de sauvegarder les modifications apportées à un contenu si un champ obligatoire n'est pas renseigné. Cela sera mis en évidence par une surbrillance rouge du champ et un icône en forme de point d'exclamation ![]() .
.
Exemple : Le champ Titre d'un contenu de type Article est obligatoire.

Une description est disponible pour chacun des champs. Elle s'affiche à l'aide de l'icône  en forme de point d'interrogation située à droite du champ. Il suffit de passer le curseur de la souris sur celle-ci pour voir s'afficher la description du champ.
Types de champs
Champ texte
Champ de saisie de texte d'une ligne.
Exemple : Titre d'un contenu de type Article.

Champ texte multi-lignes
Champ de saisie de texte sur plusieurs lignes.
Exemple : Entête (ou résumé) d'un contenu de type Article.

Champ image
Champ de sélection d'une image.
Exemple : L'image illustrative associée à un contenu de type Article.

Il est possible de choisir une image locale (située sur votre disque dur) ou une image partagée à travers l'explorateur de ressources :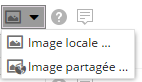
Une fois l'image sélectionnée, un bouton en forme de croix ![]() vous permet de supprimer celle-ci, vous permettant d'en saisir une nouvelle :
vous permet de supprimer celle-ci, vous permettant d'en saisir une nouvelle :

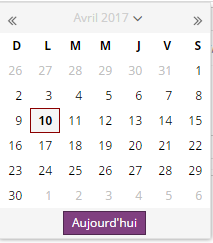
Champ date
Champ de saisie d'une date.
Exemple : Champ Date de début dans un contenu de type Actualité.
![]()
La date peut être choisie en saisissant directement le texte dans le champ, mais le plus simple est d'utiliser le widget graphique accessible par un clic sur l'icône représentant un calendrier  située à la droite du champ.
Champ case à cocher
Champ comportant une case à cocher, permettant d'indiquer un choix binaire (de type oui/non).
Exemple : Activation des commentaire dans un contenu de type Article.

Champ liste déroulante
Champ permettant à l'utilisateur de faire un choix à travers une liste déroulante.
Exemple :Le champ Droits dans un contenu de type Article.

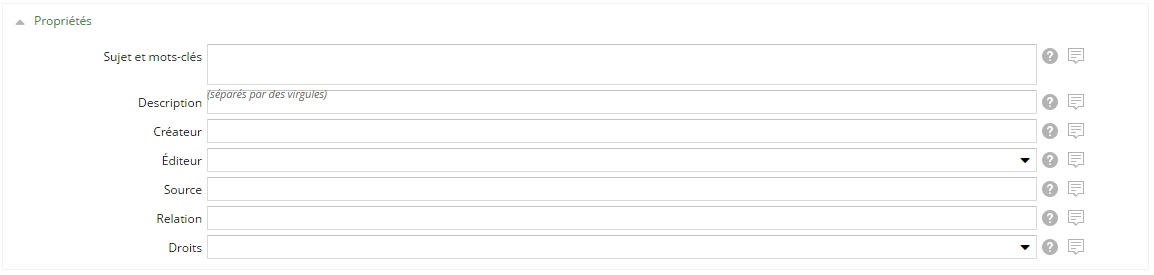
Groupe de champs
Les groupes de champs permettent d'organiser l'ensemble des champs du formulaire au sein de catégories.
Il est possible de les masquer/dé-masquer à l'aide de la flèche située à gauche du nom du groupe.
Exemple : Le groupe de champs Propriétés (Méta-données Dublin Core) d'un contenu de type Article.
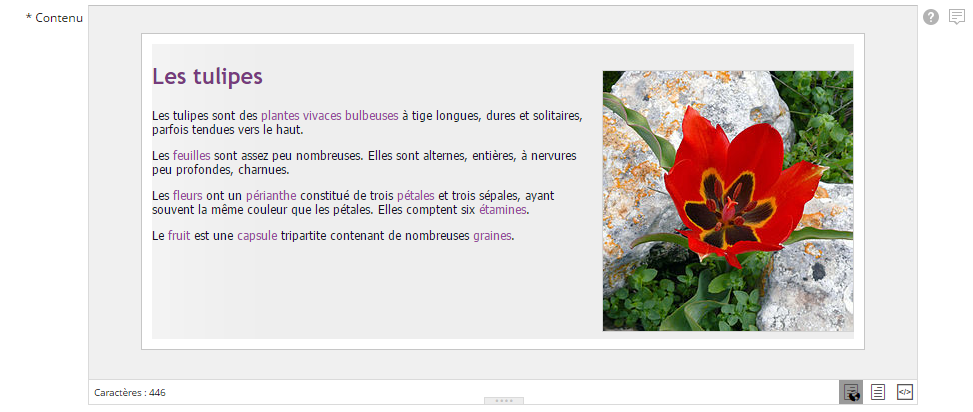
Champ texte riche
Les champs de type Texte riche (ou Texte formaté) permettent de mettre en forme du texte et d'insérer des éléments statiques et dynamiques à travers celui-ci.
Ce type de champ nécessite une section à lui tout seul à la vue du grand nombre de fonctionnalités qu'il propose : Edition de champs riches.
Exemple : Le champ Contenu d'un contenu de type Article. C'est le champ qui renferme l'Article en lui-même.
Champ de géolocalisation
Un champ de type géolocalisation permet de sélectionner un point sur une carte Google Map afin de définir des coordonnées géographiques (latitude, longitude)
