Cette extension apporte un nouveau type de site "Blog", permettant de créer des blogs personnels ou communautaire.
Créer un site de blog
Le choix du type de site à créer s'effectue à la création du site
Rendez-vous dans l'espace d'administration des sites pour créer un nouveau blog.
 |  |
| Donnez un nom à votre blog | Puis sélectionnez le type de site "blog" |
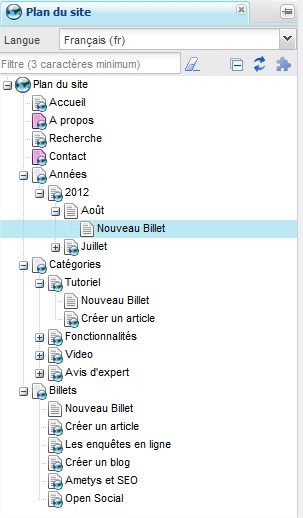
Plan du site généré
A la création d'un blog, un plan du site est généré automatiquement (pour chaque langue du site) afin de vous aidez à constituer votre blog.
Le plan du site généré contient 5 pages racine
Nom de la page | Url | Description | |
Accueil | fr/index.html | Page principale du blog destinée à afficher les billets les plus récents | 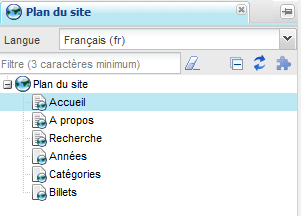 |
A propos | fr/about.html | Page contenant le profil du ou des auteurs du blog | |
Recherche | fr/search.html | Page de recherche sur les billets | |
Années | fr/years.html | Page vierge. Elle porte l'arborescence virtuelle des billets classés par année | |
Catégories | fr/tags.html | Page vierge. Elle porte l'arborescence virtuelle des billets classés par étiquettes | |
Billets | fr/posts.html | Page vierge. Elle porte l'arborescence virtuelle de l'ensemble des billets |
Structure de la page d'accueil
La page d'accueil est la page principale de votre blog. Par défaut elle se compose de 3 zones distinctes :
- La zone centrale qui affiche une vue résumée des derniers billets et un système de pagination automatique (ordre chronologie inversé)
- Une zone A propos qui contient une vue résumée du profil de l'auteur du blog.
- Une zone Archive qui affiche l'arbre des billets classés par date et par catégories.
La position de ces éléments dépend du gabarit de la page d'accueil de votre charte graphique.
Comme toujours, chacun des ces éléments peuvent être déplacés et/ou supprimés via l'interface du CMS.
Soyez attentifs lorsque vous effectuez des changements, ils seront automatiquement répercutés sur toutes les pages de billet.

A titre d'exemple, dans zone 4 de la page de cette illustration, nous avons ajouté un service de recherche.
Les contenus du blog
Profil de l'auteur
Le profil de l'auteur est un type de contenu. Comme tout contenu, il est possible de l'éditer à l'aide de l'outil d'édition des contenus.
Ouvrez la page "A propos" depuis le plan du site puis sélectionnez le contenu de la zone centrale pour être en mesure de l'éditer.
| Edition | Aperçu |
 |  |
Créer un nouveau billet
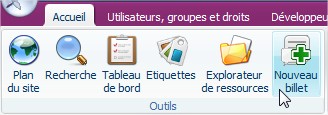
1. Cliquez sur le bouton Nouveau Billet dans l'onglet Accueil ou l'onglet Page pour créer un nouveau billet.
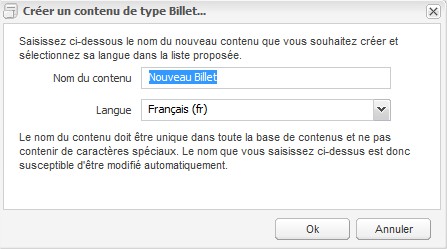
2. Remplissez les champs de la boîte de dialogue suivante :
3. L'outil d'édition des contenus s'ouvre. Remplir les champs de votre billet.
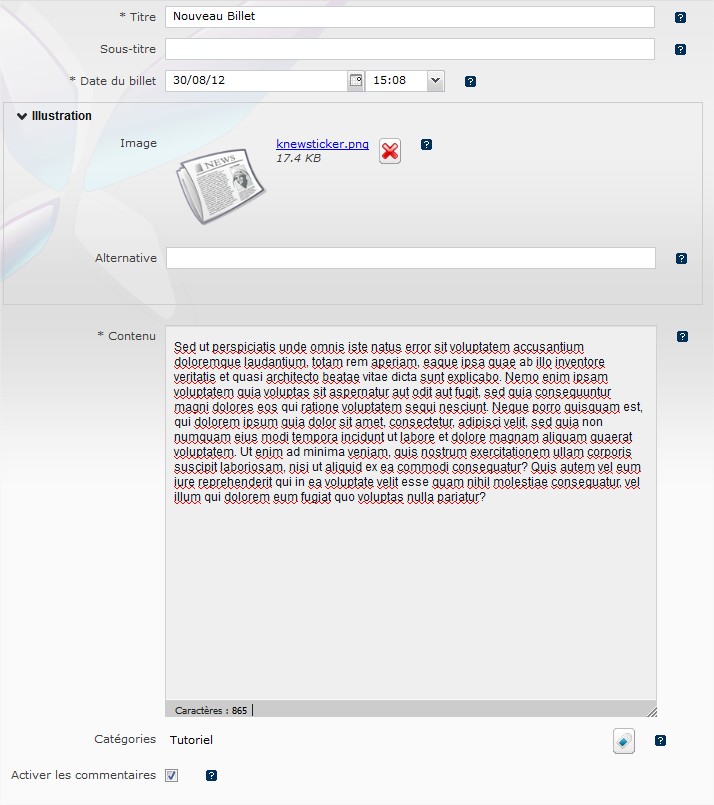
Un billet est composé des champs suivants :
| Champ | Type | Description | Obligatoire |
Titre | texte | Titre du billet | oui |
Sous-titre | texte | Sous-titre du billet | non |
Date du billet | date / heure | Date et heure du billet | oui |
Image d'illustration | image | Illustration du billet (l'image peut se situer sur votre disque dur ou dans l'explorateur de ressources) | non |
Alternative de l'image | text | Texte alternatif de l'image (accessibilité) | non |
Contenu | texte riche | Le contenu du billet | oui |
Catégories | liste d'étiquettes | Liste d'étiquettes à pour associer des catégories au billet. | non |
Activer les commentaires | case à cocher | Autoriser (ou interdire) les commentaire sur le billet. | non |
Durant l'édition du contenu, des étiquettes peuvent être directement créés et affecté au billet en cours d'édition.
Arborescence virtuelle
Les arbres virtuels du plan du site sont complétés après la création d'un billet. Chaque page de billet est rangé dans l'arbre en fonction de sa date et de ses étiquettes (catégories).
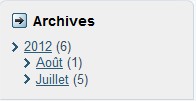
Les archives
Il y a deux façons de naviguer à travers les archives du blog :
- Archives classés par dates
- Archives classés par catégories
L'arborescence datées des archives permet de retrouver les billets par années et par mois. |
|
L'arborescence des archives classés par catégories permet de trouver les billets par étiquettes. |
|

Flux RSS
Les flux RSS permettent à vos lecteurs d'être tenus au courant des nouveaux contenus disponibles sur votre blog.
Deux flux sont disponibles :
- Flux des derniers billets : http://[url_serveur]/plugins/blog/[nom_du_site]/[langue]/rss/posts.xml
- Flux des derniers commentaires : http://[url_serveur]/plugins/blog/[nom_du_site]/[langue]/rss/comments.xml

Liens favoris
Utiliser le type de contenu Liste de liens pour ajouter une liste de vos liens favoris dans votre blog.
De telles listes sont généralement placés dans les zones secondaires de votre gabarits (à gauche ou à droite de la zone centrale).

Les commentaires
Les commentaires est une fonctionnalités interactive qui permet au utilisateurs de laisser leurs impression sur un billet.
Les utilisateurs du blog peuvent laisser des commentaires sur la page du billet à l'aide d'un formulaire protéger par un captcha.
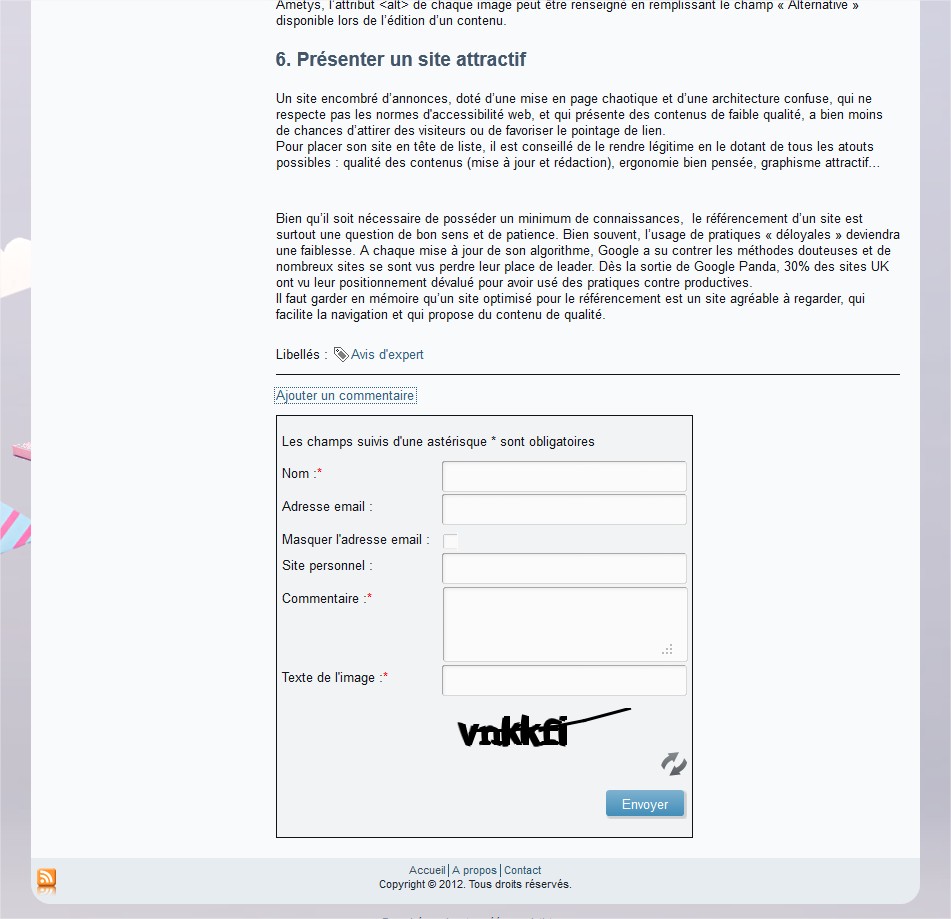
Toutes les informations concernant les fonctionnalités liées aux commentaires et à la modération de ceux-ci sont disponible dans le manuel utilisateur : Commentaires des contenus.