Introduction
Vous pouvez classer vos utilisateurs dans des groupes d'utilisateurs. Cela permet de gérer les profils de droits pour des groupes d'utilisateurs, et non utilisateur par utilisateur.
Les groupes d'utilisateurs sont eux-même classés dans des répertoires de groupes.
Gestion des répertoires de groupes
Afficher les répertoires de groupes
Dans l'onglet Utilisateurs, groupes et droits, cliquez sur le bouton Répertoires de groupes :

L'outil Répertoires de groupes s'ouvre. Vous trouverez la liste des répertoires déjà créés :

Ajouter un répertoire de groupes
Pour ajouter un répertoire de groupes, cliquez sur le bouton Nouveau répertoire de l'onglet Répertoires de groupes :

En fonction du type de répertoire de groupes que vous souhaitez utiliser, les paramètres à renseigner peuvent être différents :
|
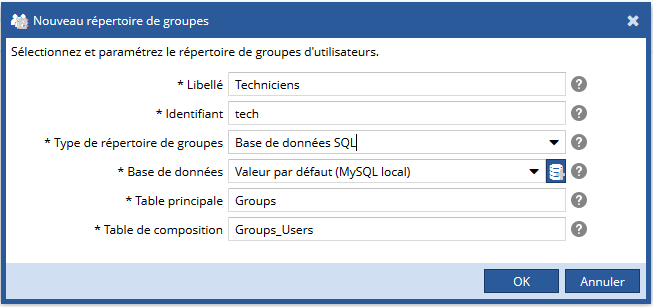
Pour un répertoire de groupes de type Base de données SQL, spécifiez :
Vous pouvez créer le lien à la base de données à la volée en cliquant sur le bouton
|  |
Pour un répertoire de groupes de type Annuaire LDAP, spécifiez :
Vous pouvez créer le lien à l'annuaire LDAP à la volée en cliquant sur le bouton |  |
Modifier un répertoire de groupes
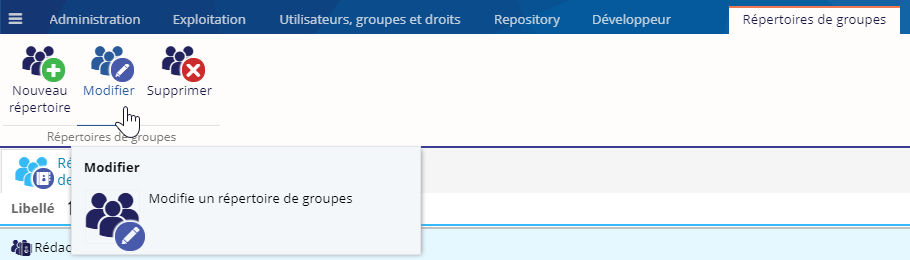
Pour modifier un répertoire de groupes, sélectionnez le dans la liste puis cliquez sur le bouton Modifier :
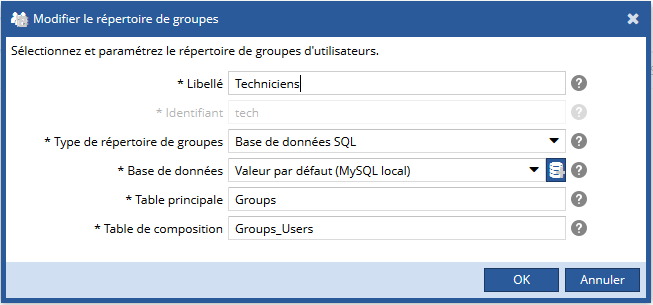
Vous pouvez modifier les informations concernant le répertoire. Seul l'identifiant ne peut pas être modifié :
Attention ! Si vous souhaitez modifier la source de données, les données de l'ancienne base devront être manuellement transférées vers la nouvelle par l'administrateur de l'application.
Supprimer un répertoire de groupes
Pour supprimer un répertoire de groupes, sélectionnez le dans la liste et cliquez sur le bouton Supprimer :

Une fenêtre contextuelle de confirmation est affichée afin de confirmer votre choix.
Gestion des groupes d'utilisateurs
Comme l'interface de gestion des utilisateurs, l'interface de gestion des groupes d'utilisateurs dispose de fonctionnalités qui dépendent de la configuration des sources de données. Si les utilisateurs sont gérés par une source de donnée en lecture seule (du point de vue du CMS), seule l'action "Rechercher" est disponible.
Rechercher des groupes d'utilisateurs
Dans l'onglet Utilisateurs, groupes et droits, cliquez sur le bouton Groupes d'utilisateurs :

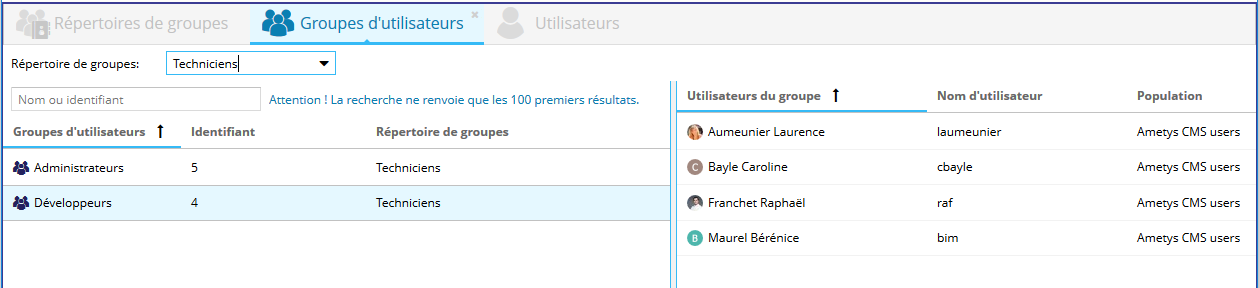
L'outil Groupes d'utilisateurs s'ouvre. Cet écran affiche la liste des groupes d'utilisateurs dans la zone centrale. Il propose une colonne de gauche comprenant une zone de recherche des groupes et une colonne de droite comprenant la liste des utilisateurs du groupe sélectionné :
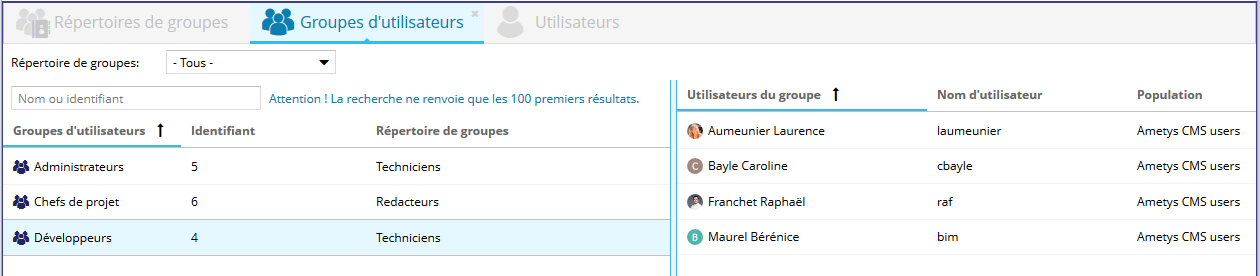
Vous pouvez filtrer les utilisateurs en fonction du répertoire de groupe :
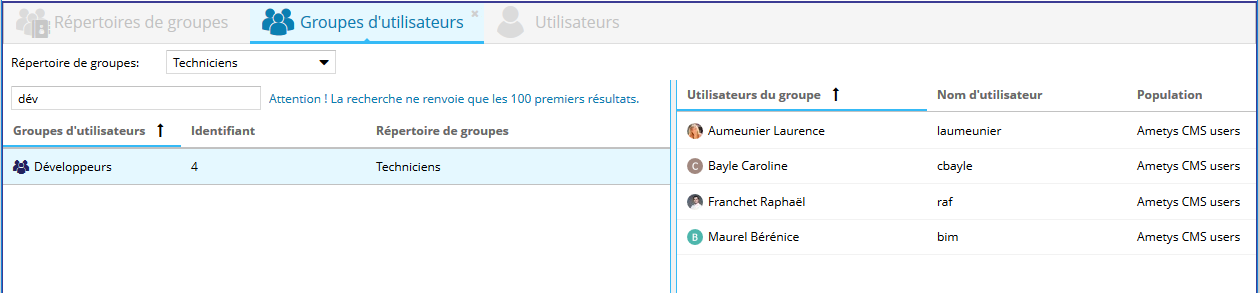
Vous pouvez également rechercher des groupes par leurs noms ou leurs identifiants :
Ajouter un groupe d'utilisateurs :
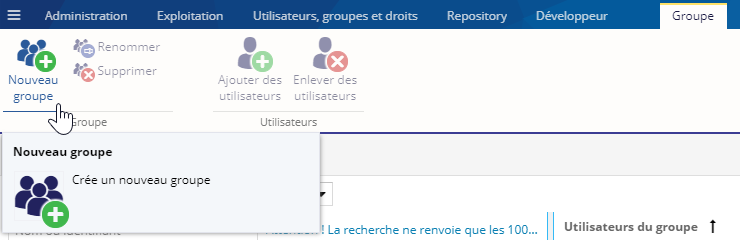
Pour ajouter un groupe, cliquez sur le bouton Nouveau groupe :
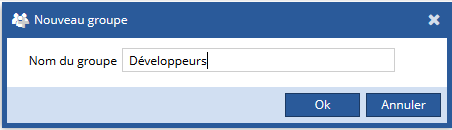
Sélectionnez d'abord le répertoire dans lequel créer le groupe, puis choisissez le nom du group :

Renommer un groupe d'utilisateurs
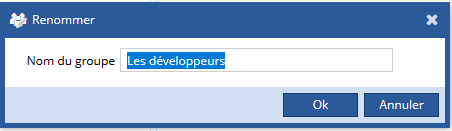
Pour renommer un groupe d'utilisateurs, sélectionnez le dans la liste puis cliquez sur le bouton Renommer :

Vous pouvez modifier le nom du groupe :
Supprimer un groupe d'utilisateurs
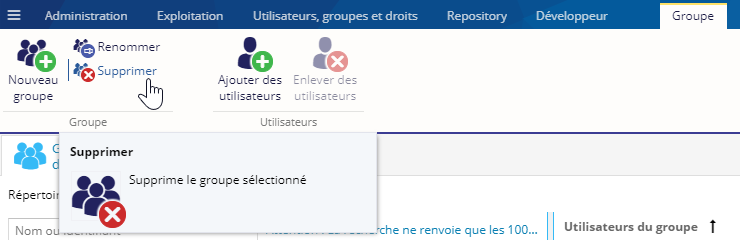
Pour supprimer un groupe d'utilisateurs, sélectionnez le dans la liste et cliquez sur le bouton Supprimer :
Une fenêtre contextuelle de confirmation est affichée afin de confirmer votre choix.
La suppression d'un groupe ne supprime pas les utilisateurs. Pour supprimer les utilisateurs, il faut ouvrir l'outil de Gestion des utilisateurs
Ajouter des utilisateurs
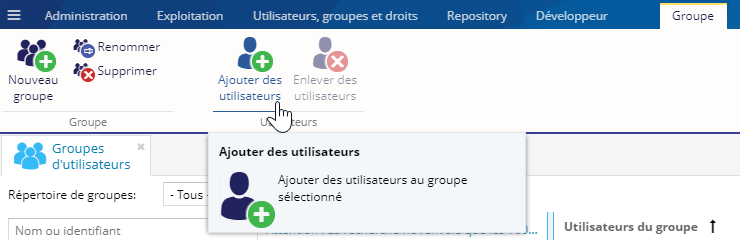
Pour ajouter des utilisateurs à un groupe, sélectionnez le dans la liste et cliquez sur le bouton Ajouter des utilisateurs :
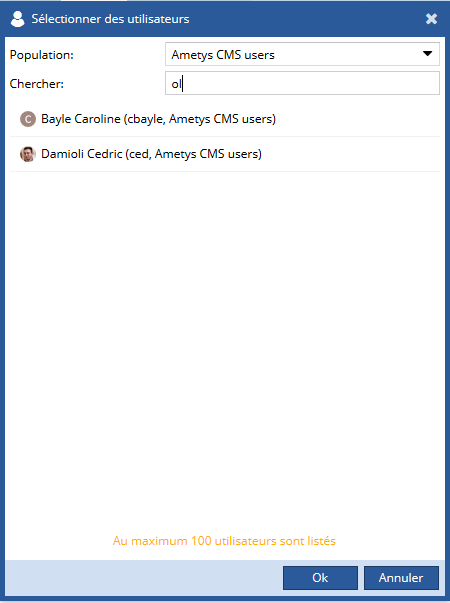
Choisissez ensuite les utilisateurs à ajouter. Vous pouvez rechercher des utilisateurs par leurs noms ou leurs identifiants et/ou les filtrer en fonction de leurs populations. Vous pouvez sélectionnez plusieurs utilisateurs à la fois :
Enlever des utilisateurs
Pour enlever des utilisateurs d'un groupe, sélectionnez le groupe dans la colonne de gauche. Sélectionnez ensuite les utilisateurs que vous souhaitez enlever dans la colonne de droite puis cliquez sur le bouton Enlever des utilisateurs :

Une fenêtre contextuelle de confirmation est affichée afin de confirmer votre choix.