Afficher les sites
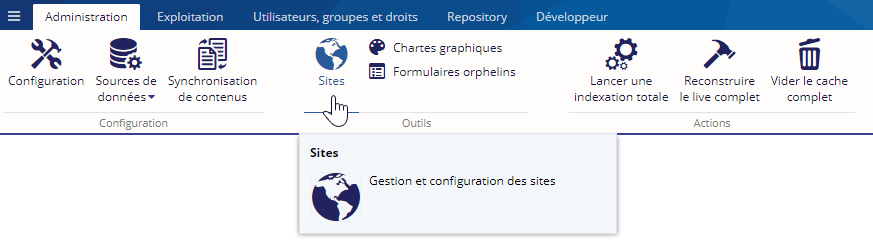
Dans l'onglet Administration, cliquez sur le bouton Sites :
 .
.
Dans Ametys, les sites sont organisés selon une structure hiérarchique. Cela signifie qu'un site peut avoir des sites enfants.
Ainsi, l'écran de gestion des sites affiche la liste des sites du CMS sous la forme d'un arbre :

Lors de votre première connexion, il est possible que cet écran soit vide car aucun site n'a été crée.
L'un des principaux intérêts de la gestion hiérarchique des sites est le partage de contenu entre les sites.
Modifier l'organisation des sites
Il est possible d'effectuer des drag & drop dans l'arbre des sites pour en modifier l'organisation :
Exemple de drag & drop sur un site
Nous allons effectuer un drag & drop sur le site nommé Event Site de manière à ce qu'il devienne un site enfant du site Blog :
|
|
Sélectionnez le site Event Site en cliquant sur son nom à l'aide de la souris. |
|
|
[Drag] Tout en maintenant le clic, déplacez votre curseur sur le site Blog. |
|
|
[Drop] Relâchez à présent votre clic. Le site Event Site est maintenant un enfant du site Blog. |


Fonctionnalités liées à un site
Créer un nouveau site
Le processus de création (ou duplication) d'un nouveau site est documenté à la page suivante : Créer un nouveau site
Ouvrir dans le CMS
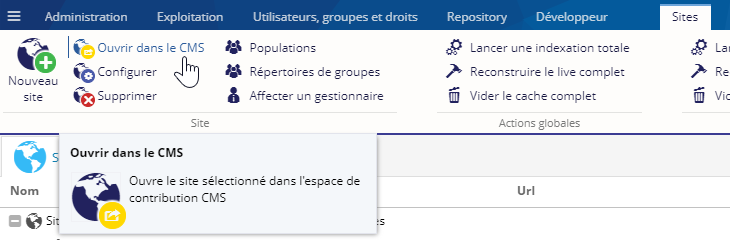
Pour ouvrir un site dans le CMS, sélectionnez le et cliquez sur le bouton Ouvrir dans le CMS :
Configurer
Pour modifier la configuration d'un site, sélectionnez le et cliquez sur le bouton Configurer :
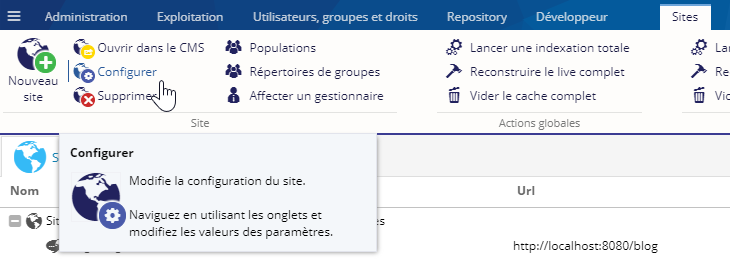
Pour plus de détails sur la configuration d'un site, consultez la page Créer un nouveau site.
Supprimer un site
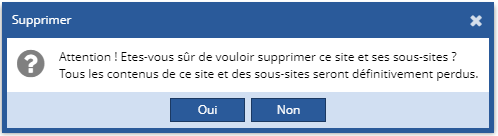
Pour supprimer un site, sélectionnez le et cliquez sur le bouton Supprimer :

Supprimer un site supprime l’ensemble du site sélectionné et de ses sous-sites (pages et contenus inclus). Une confirmation de suppression est demandée :
Choisir les populations d'un site
Pour choisir les populations autorisées à se connecter à un site, sélectionnez le puis cliquez sur le bouton Populations :

Une boîte de dialogue vous permet de sélectionnez ces populations :
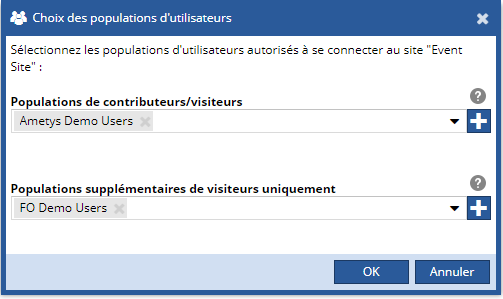
Les populations de contributeurs/visiteurs sont autorisés à se connecter au back-office "cms" et au front office "site", alors que les populations supplémentaires de visiteurs ne peuvent se connecter qu'au front-office "site". Il faut faire attention à ne pas sélectionner comme population supplémentaire une population déjà sélectionnée comme population de contributeurs.
Choisir les répertoires de groupes
Pour choisir les répertoires de groupes disponibles pour un site, sélectionnez ce site puis cliquez sur le bouton Répertoires de groupes :

Une boîte de dialogue vous permet de sélectionnez ces répertoires :
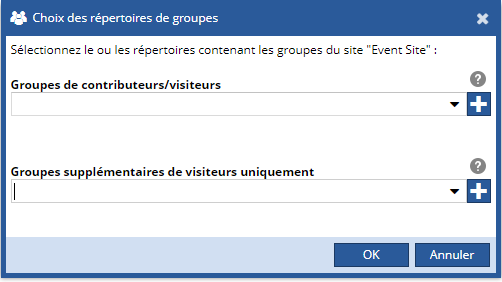
Les groupes de contributeurs/visiteurs sont disponibles sur le back-office "cms" et le front office "site", alors que les groupes supplémentaires de visiteurs ne sont disponibles que sur le front-office "site". Il faut faire attention à ne pas sélectionner comme groupe supplémentaire un groupe déjà sélectionné comme groupe de contributeurs.
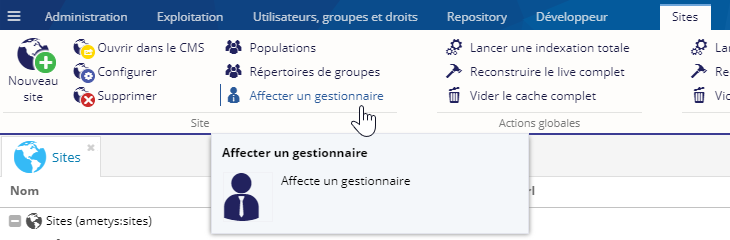
Affecter un gestionnaire
Pour affecter un gestionnaire à un site, sélectionnez le site et cliquez sur le bouton Affecter un gestionnaire :
Une boîte de dialogue vous permet de sélectionner l'utilisateur qui sera le gestionnaire du site. Vous pouvez également affecter cet utilisateur à un profil existant ou à un nouveau super-profil :

L'utilisateur choisi peut ensuite se connecter et profiter de ses droits de gestionnaire.
Actions
Lancer une indexation
Vous pouvez lancer un indexation totale en cliquant sur le bouton Lancer une indexation totale :

Vous pouvez également lancer l'indexation d'un site. Pour cela, sélectionnez le et cliquez sur le bouton Lancer une indexation du site :

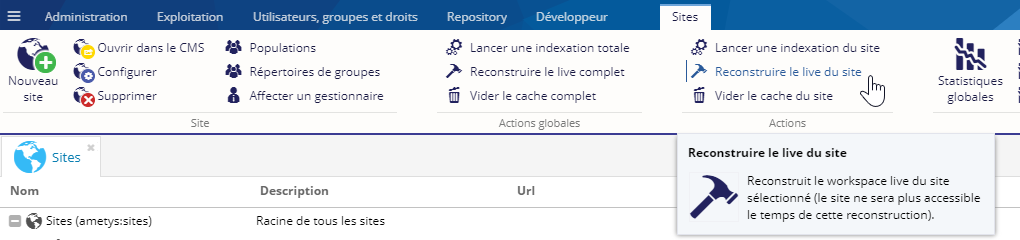
Reconstruire le live
Pour reconstruire le woskspace live d'un site, sélectionnez le et cliquez sur le bouton Reconstruire le live du site :
Cette action effectue la reconstruction du workspace live du site, ré-indexant tous ses contenus et réinitialisant le cache du front-office.
Le workspace live est le workspace représentant la version en ligne du site. Si il vous arrive de remarquer des différences entre la version de prévisualisation et la version en ligne d'une même page alors qu'il n'y a pas eu de modifications récente sur celle-ci, c'est très certainement que le workspace live n'est pas à jour. Une reconstruction du workspace live du site peut résoudre le problème.
L'action de reconstruction du workspace live du site entraîne une indisponibilité temporaire du site pour les contributeurs et visiteurs durant la durée du processus.
Il est également possible de reconstruire le workspace live complet. Ainsi, l'action s'effectue au niveau de l'application et tous les sites du CMS sont affectés par cette reconstruction. Pour cela, cliquez sur le bouton Reconstruire le live complet :
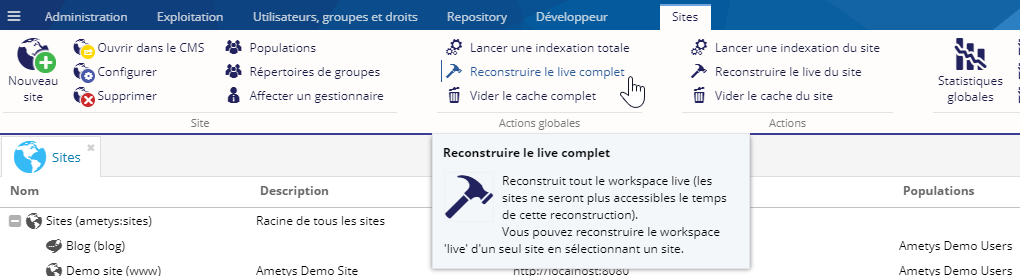
L'action de reconstruction du workspace live complet entraîne une indisponibilité temporaire de tous les sites pour les contributeurs et visiteurs durant la durée du processus.
Vider le cache
Pour vider le cache d'un site, sélectionnez le et cliquez sur le bouton Vider le cache du site :
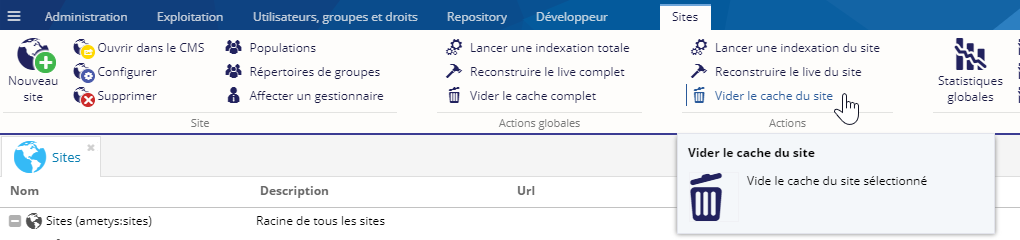
Cette action permet de vider le cache serveur du site sélectionné.
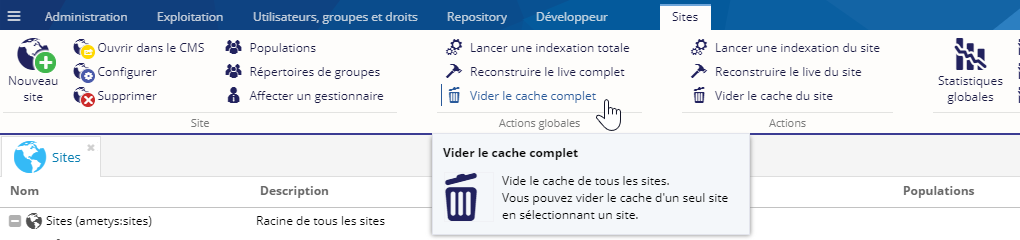
Pour vider le cache serveur de l'ensemble des sites et de l'application, cliquez sur le bouton Vider le cache complet :
Statistiques
Statistiques globales
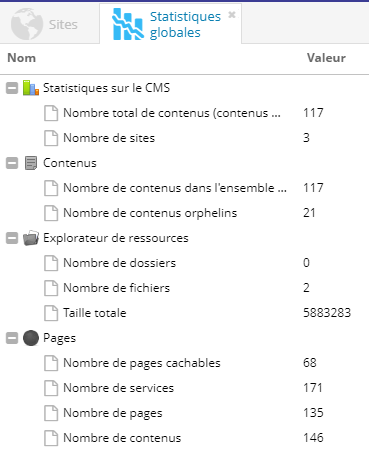
Pour afficher les statistiques globales, cliquez sur le bouton Statistiques globales :

Un écran s'affiche reprenant un certain nombre de données concernant l'ensemble des sites et de l'application (nombre de contenus, pages, ressources, services, ...) comme visible sur l'illustration ci-dessous :
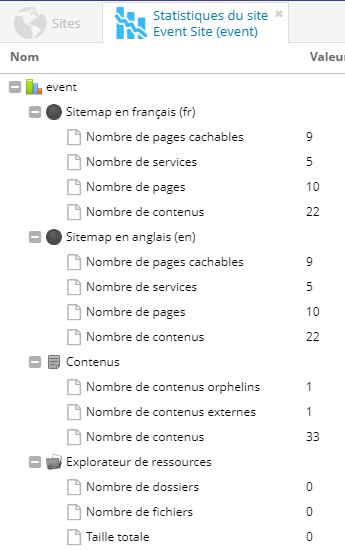
Statistiques du site
Pour afficher les statistiques d'un site, sélectionnez le puis cliquez sur le bouton Statistiques du site :

La vue est proche de celle des Statistiques globales mais les résultats sont uniquement calculés pour le site sélectionné :
Statistiques du cache
Ces statistiques portent sur l'utilisation du cache coté back-office (cache dynamique) et front-office (cache statique). Voir la page Statistiques sur l'utilisation du cache pour plus d'informations.