Outil de gestion des formulaires
Le nouvel outil des formulaires  est disponible depuis l'onglet "Accueil".
L'accès à cet outil est géré par le droit Formulaires/Outil formulaires.
Vue en arbre
Les formulaires peuvent être rangés par dossiers afin de les retrouver plus facilement.
Un dossier peut contenir des sous-dossiers et ainsi de suite.
Le dossier parent est nommé "Formulaires".
Cet outil présente une vue arborescente des formulaires et dossiers existants.

Les colonnes sont :
- Titre : Nom du dossier ou du formulaire
- Créateur
- Pages associées : Pages dans lesquelles ce formulaire est affiché grâce au service Formulaire
- Cycle de vie : Cycle de vie du formulaire (ou Aucun si le formulaire ne possède pas de cycle de vie)
- Nombre d'entrées
- Date de la dernière soumission
Une zone de filtre est disponible au-dessus du tableau, celle-ci s'applique au nom du formulaire.
Il est possible de trier les colonnes (tri croissant ou décroissant), ou de sélectionner les colonnes à afficher : 
Si un formulaire possède une configuration incomplète (un des champs n'est pas correctement configuré), il apparaît avec une icône ![]() dans l'arbre :
dans l'arbre : 
Consultation des données
La consultation des données est détaillée sur cette page.
Gestion des dossiers

L'outil offre la possibilité de créer, renommer ou supprimer un dossier.
Pour une création, le dossier créé est situé sous le dossier sélectionné.
L'accès à la gestion des dossiers est géré par le droit Formulaires/Gestion des dossiers.
Gestion des formulaires
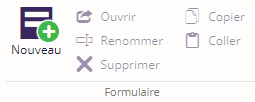
Les actions suivantes sont disponibles pour la gestion d'un formulaire :
- Création : le formulaire est créé sous le dossier sélectionné.
- Ouverture : la vue en arbre et la prévisualisation du formulaire sélectionné sont ouvertes
- Renommage
- Suppression
- Copier/Coller : le formulaire copié est collé sous le dossier sélectionné
L'accès à la gestion des formulaires (création, modification, suppression) est géré par le droit Formulaires/Gestion des formulaires.
Notifications

Destinataires
Cette fenêtre permet d'entrer la ou les adresses mail (une par ligne ou séparées par des virgules, des espaces ou des points-virgules) qui recevront un mail à chaque soumission du formulaire.

Voici un exemple de mail reçu :

Accusé de réception
Un accusé de réception du formulaire soumis peut être envoyé à l'utilisateur connecté.
L'expéditeur, le sujet ainsi que le message sont configurables,
avec la possibilité d'ajouter les informations du formulaire dans le message avec le mot clé {form}.

Voici un exemple d'accusé de réception reçu :

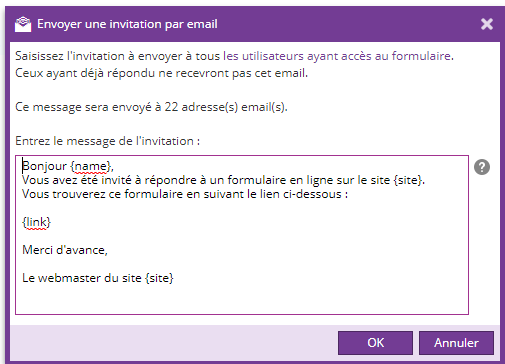
Envoyer une invitation
Une invitation à répondre au formulaire peut être envoyée à tous les utilisateurs ayant accès au formulaire.
Afin d'éviter tout envoi incorrect, le nombre de personnes qui recevront l'invitation est rappelé dans cette fenêtre, et après validation, une fenêtre pop-up demande une nouvelle validation en précisant ce nombre.
Le message est configurable avec l'utilisation des mots-clés suivants :
- {name} pour le nom de la personne
- {link} pour le lien vers le formulaire
- {site} pour le nom du site
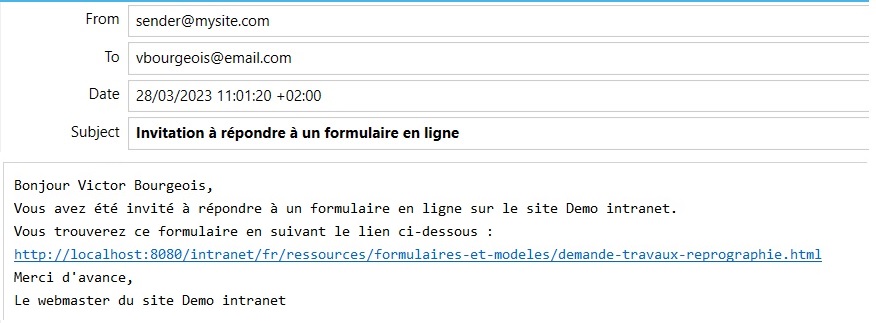
Voici un exemple de mail d'invitation reçu :
Actions
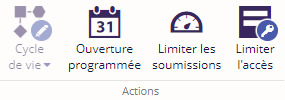
Cycle de vie
Le bouton "Cycle de vie" n'est pas disponible si le formulaire possède des données.
Ce bouton permet de définir un cycle de vie pour le formulaire : 
Le cycle de vie formulaire Standard contient les états suivants :
- En attente
- Refusé
- Validé
- Demande de compléments
Si le formulaire possède un cycle de vie, il est possible de faire évoluer le statut des entrées, soit en consultant les données sur le back office, soit via un service tableau de bord.
Ouverture programmée
Cette fonctionnalité permet de définir les dates d'ouverture du formulaire en ligne.

Si la date actuelle est hors de cette plage de dates, le message suivant est affiché et le formulaire n'est pas disponible :

Limiter les soumissions

Il est possible de :
Limiter à une soumission par personne.
Un utilisateur peut remplir le formulaire une seule fois.
S'il essaie de remplir une nouvelle fois, ce message est affiché et le formulaire ne s'affiche pas : 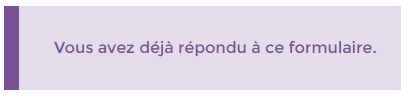
Limiter le nombre total de soumissions.
Dans ce cas, à chaque affichage du formulaire, un message indique le nombre de places restantes au-dessus du formulaire: 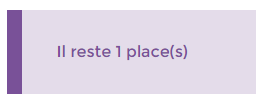
Si le nombre de soumissions autorisées est atteint, le formulaire ne s'affiche pas et le message suivant est affiché : 
Mettre en place une liste d'attente.
Si le nombre de demandes est atteint, une liste d'attente (dont la taille est à définir dans la fenêtre de configuration) est mise en place.
Dans le cas où la liste d'attente est activée, un message l'indique au-dessus du formulaire : 
Si le nombre de soumissions de la liste d'attente est atteint, le formulaire ne s'affiche pas et ce message est affiché : 
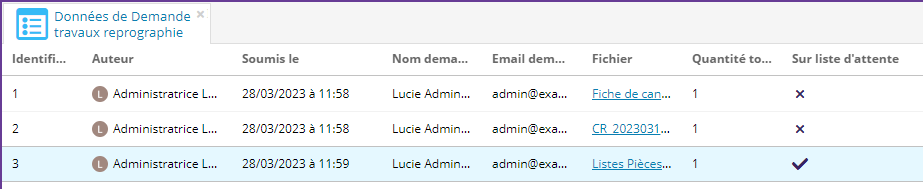
Sur le tableau de consultation des données du back-office, une colonne "Sur liste d'attente" indique :
 une entrée présente sur la liste principale, donc non présente sur liste d'attente
 une entrée présente en liste d'attente
Pour qu'une entrée présente en liste d'attente passe en liste principale, il faut soit :
- qu'une entrée présente en liste principale soit supprimée
- qu'une entrée présente en liste principale passe à l'état "Refusé".
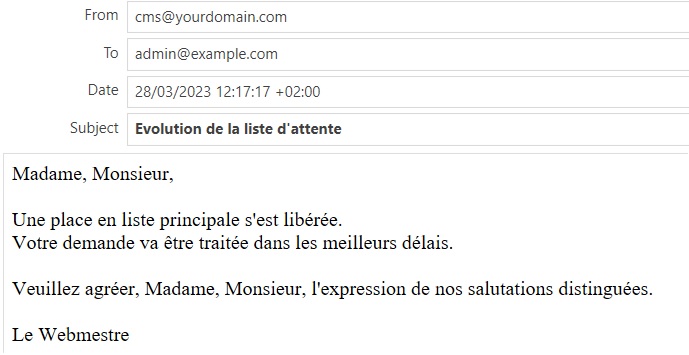
Quand une telle évolution (passage de liste d'attente à liste principale) se produit, un mail est envoyé à l'utilisateur ayant rempli l'entrée.
Ce mail est configurable via le bouton "Notification", situé en bas de la fenêtre principale de limitation des soumissions.
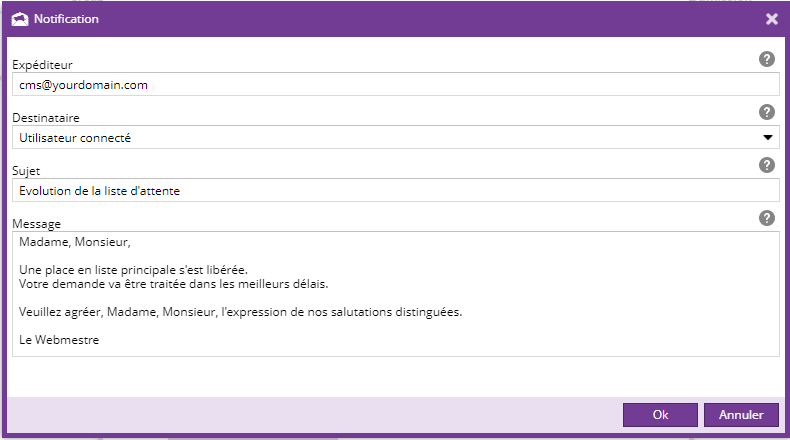
Exemple de mail reçu :
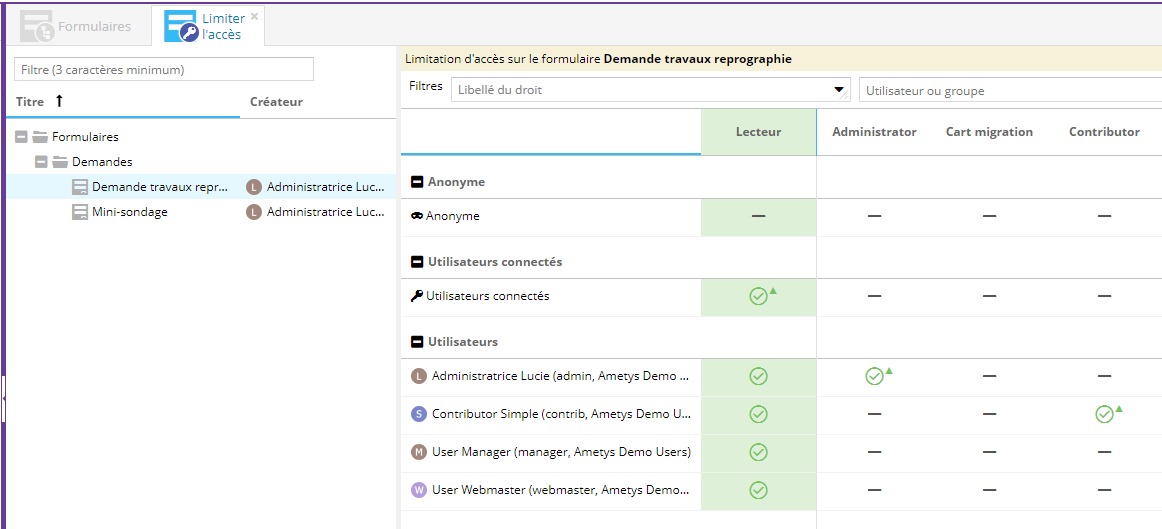
Limiter l'accès
Un outil de limitation des droits d'accès est disponible, afin de déterminer les profils ayant les droits sur les dossiers et les formulaires.
Pour que les formulaires soient visible, il est nécessaire d'avoir accès en lecture au dossier racine "Formulaires". Sans ce droit, aucun formulaire ne sera visible.
Quand un droit est positionné sur un dossier, les formulaires enfants de ce dossier héritent automatiquement du droit du dossier parent.