Le plugin Glossaire fournit un outil back-office pour définir les mots du glossaire.
- Présentation de l'outil
- Ajouter une définition
- Ajouter une définition à partir de l'éditeur en ligne
- Thématique personnalisée à destination d'une définition de glossaire
Présentation de l'outil
Cliquez sur le bouton Glossaire de l'onglet Accueil pour ouvrir l'outil Glossaire

Cet outil se présente sous forme d'un tableau avec les définitions existantes classées par lettres.
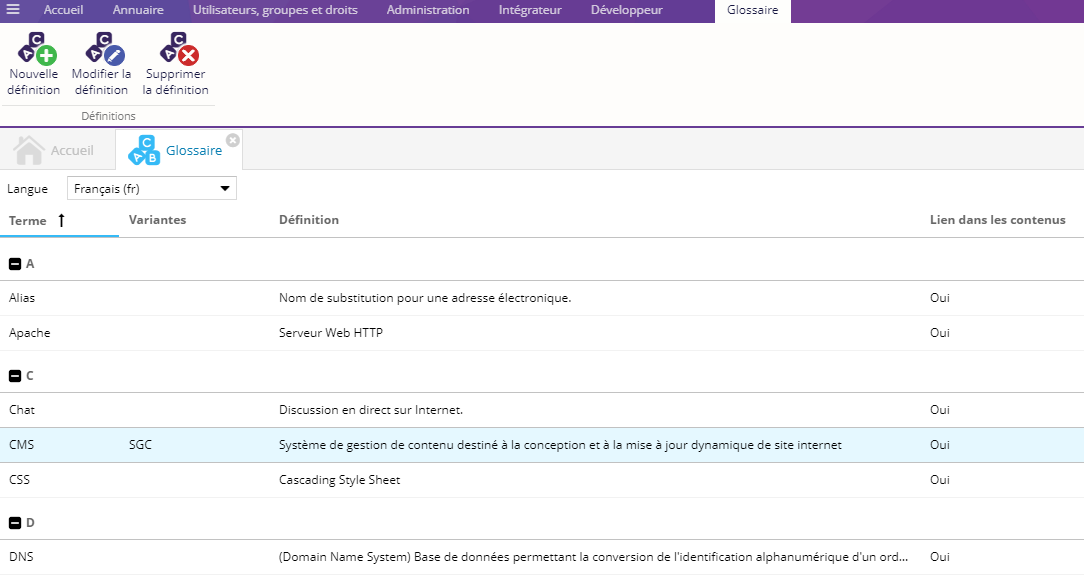
Chaque glossaire est propre à un site et une langue.
Ajouter une définition
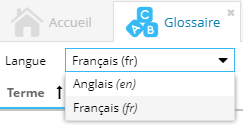
Choisissez une langue dans la liste déroulante située en haut de l'outil.
Cliquez sur le bouton Nouvelle définition pour ajouter une nouvelle définition au glossaire.
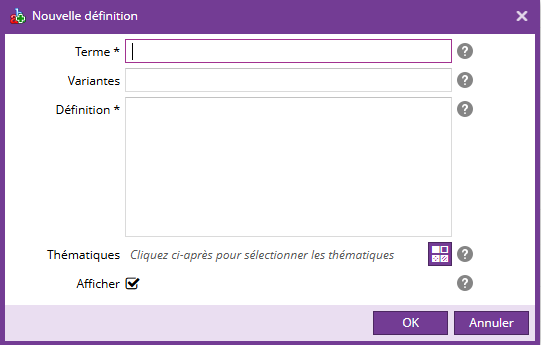
Remplissez les champs suivants :
- Terme : Le mot à ajouter au glossaire.
- Variantes : Les termes alternatifs pour votre mot, séparés par des virgules (forme féminine / plurielle, conjugaison de verbe, etc...).
- Définition: La définition du mot.
- Thématiques : La thématique associée au mot du glossaire
- Afficher : Cocher cette case pour mettre en valeur les occurrences de ce mot (et de ses variantes) dans le contenu de vos pages. Une info-bulle affichera la définition du mot au passage de la souris sur le mot.
La fenêtre de paramétrage est identique lors de la modification d'un mot.
Sélectionnez un mot et cliquer sur le bouton Modifier pour modifier un mot du glossaire.
Sélectionnez un mot et cliquer sur le bouton Supprimer pour supprimer un mot et ses variantes du glossaire
Ajouter une définition à partir de l'éditeur en ligne
Vous pouvez également ajouter un terme au glossaire, directement lors de l'édition d'un contenu.
En édition, sélectionnez le terme à ajouter et cliquez sur "Ajouter au glossaire".
![]()
Thématique personnalisée à destination d'une définition de glossaire
Les thématiques personnalisées sont disponibles à partir de la version 2.15.0 du glossaire
Pour créer des thématiques personnalisées, il faut avoir le droit "Gérer les thématiques" (Utilisateurs, groupes et droits)
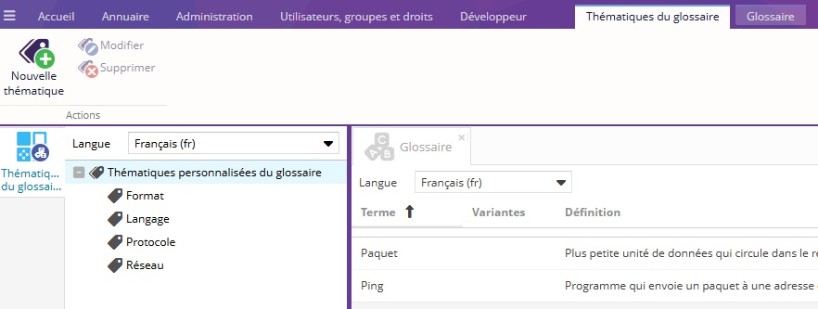
L'outil Thématiques du glossaire permet de créer, de modifier ou bien de supprimer une thématique.
Ces thématiques personnalisées sont propres au glossaire.
Créer une thématique personnalisée
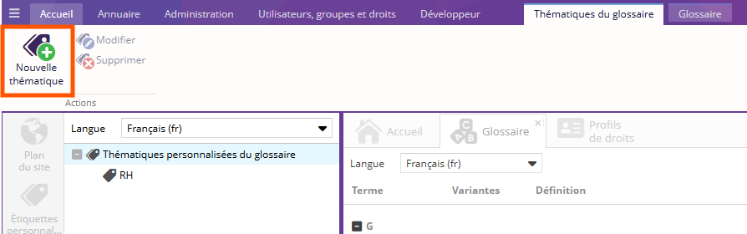
Cliquer sur l'outil Thématiques du glossaire dans l'onglet Glossaire
Cliquer sur le bouton Nouvelle thématique
Indiquer le nom de la thématique et une description si nécessaire puis cliquer sur OK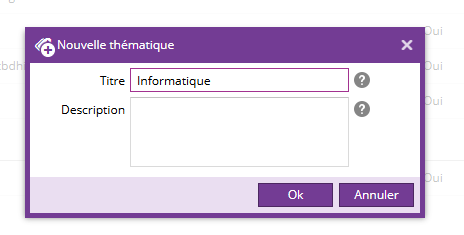
Les thématiques nouvellement créées apparaissent sous le nœud "Thématiques personnalisées du glossaire"
Pour modifier une thématique, cliquer sur la thématique souhaitée puis cliquer sur Modifier.
Pour supprimer une thématique, cliquer la thématique souhaitée puis cliquer sur Supprimer.

Ajouter une thématique personnalisée à une définition
Créer une définition selon la méthodologie présentée en début du document
Lors de la création, cliquer sur Thématiques
Ajouter la thématique souhaitée
Lors de l'ajout d'une thématique, une nouvelle pop-up apparaît pour choisir la thématique : 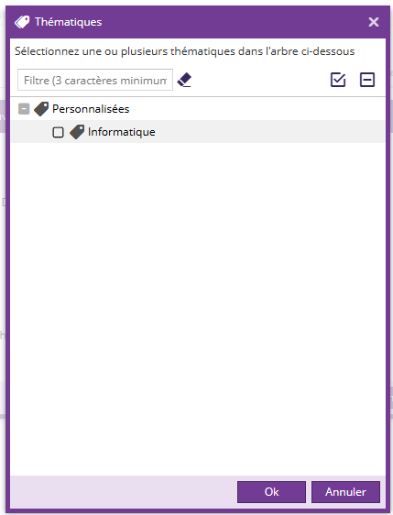
Cliquer sur Ok pour valider l'ajout de la thématique
Pour ajouter une thématique à une définition existante, sélectionnez la définition et cliquez sur le bouton Modifier.