Description du programme d'enseignement
Chaque formation a une arborescence, elle est souvent composée de parcours, de conteneur, de liste d'éléments pédagogiques et d'éléments pédagogiques.
Pour accéder à l'arborescence d'une formation, il faut rechercher une formation et sélectionner une formation.

Principe d'ergonomie
Lorsqu'un outil est ouvert : l'élément sélectionné est surligné en bleu.
Dans l'exemple ci-dessus, la formation sélectionnée dans le moteur de recherche est DEUST mention Métiers de l'animation sociale.
Une fois la formation sélectionnée, allez dans l'onglet Formation, bouton Maquette de la formation.
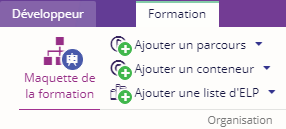
Pour découvrir et utiliser les outils de la maquette de formation, cliquez ici
Pour modéliser la formation, cliquez ici